
Cosplay allows fans to bring their favorite characters to life, immersing themselves in the fantastical worlds they adore. To create truly jaw-dropping cosplay props, many enthusiasts turn to 3D printing for its precision and versatility.

3D Planet Props, an esteemed online store, offers a range of raw 3D printed cosplay masks, cosplay helmets, and cosplay armor that serve as the perfect foundation for your creative endeavors.

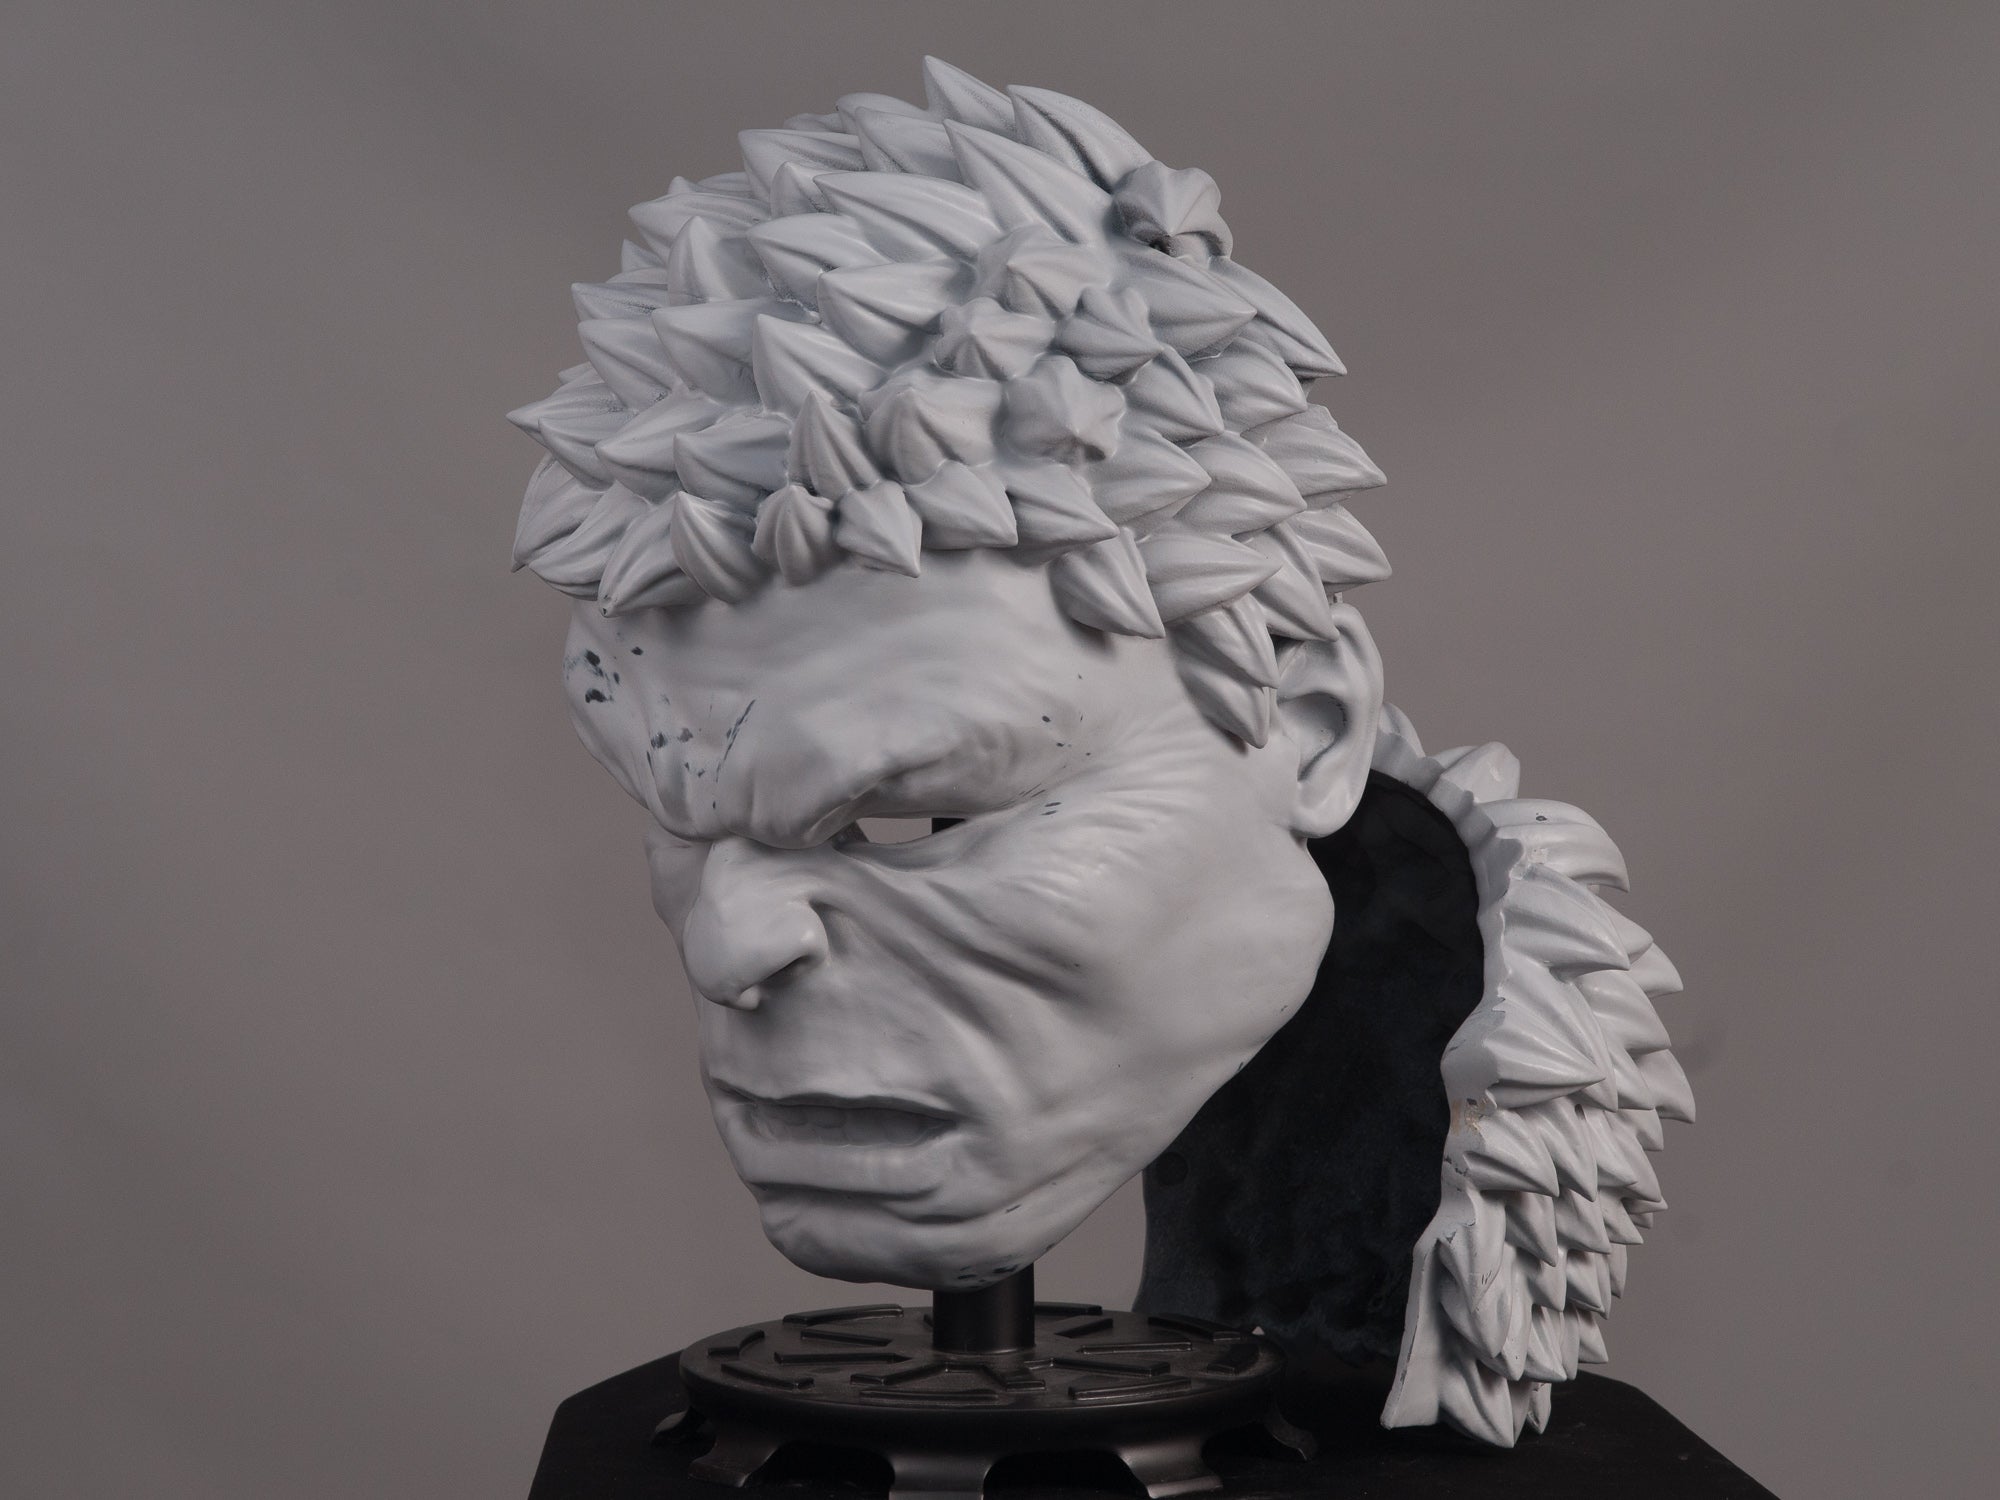
Just look at our bestsellers Raw Kit 3D Print collection:
Mando Beskar Armor, Symbiote Mask, Sally Mask, Maleficent Horns, Mandalorian Rifle, Plo-Koon Mask-Helmet, Daft Punk Helmet, etc.
Here's the secret that makes raw kits 3D printed cosplay props so popular: the incredible customization of the finished product. Create your own cosplay mask, cosplay helmet or cosplay armor however you like!
In this guide, we will delve into the process of machining, assembling, and painting your 3D printed cosplay props (raw kits 3D print), empowering you to level up your cosplaying game and showcase your craftsmanship like never before.
Step 1: Selecting Your 3D Printed Raw Kit

Step 2: Assessing the Raw Kit

Once you receive your 3D printed raw kit, take the time to carefully examine it. Check for any imperfections or rough surfaces that may require machining or sanding. Assess the overall structure and determine if any modifications or adjustments need to be made to ensure a perfect fit and alignment during the assembly process.
Step 3: Machining and Sanding the Raw Kit after 3d Print

Step 4: Assembly and Reinforcement the 3D Printed Prop

With your 3D printed cosplay prop prepared and refined, it's time to assemble the various components. Follow the instructions provided by 3D Planet Props and ensure a secure and stable attachment of each piece. Depending on the complexity of the prop, you may need to reinforce certain areas using additional materials such as adhesives, screws, or straps. Pay attention to details and strive for accuracy to achieve a cohesive and visually stunning final product.
Step 5: Priming and Painting

Now comes the exciting part—bringing your raw kit 3d print to life through priming and painting. Start by applying a suitable primer to create a smooth and even surface for the paint to adhere to. Select high-quality paints suitable for the material of your cosplay prop and consider the color scheme and textures of your chosen character. Apply thin layers of paint, allowing each coat to dry before adding additional layers. Use techniques such as airbrushing, dry brushing, or masking to achieve intricate details and realistic effects. Take your time and exercise precision during the painting process to capture the essence of the character accurately.
Step 6: Finishing Touches and Detailing

Once the base paint has dried, it's time to add the finishing touches and refine the finer details of your prop. Apply weathering techniques to create a worn or battle-damaged appearance, using techniques such as dry brushing, washes, or sponging. Add additional elements such as decals, emblems, or small accessories to enhance the authenticity of your prop. Take pride in the intricate details, ensuring they align with the character's design and story.
Step 7: Showcasing Your Craftsmanship
With your 3D printed cosplay prop machined, assembled, and painted to perfection, it's time to showcase your craftsmanship. Wear your finished cosplay prop with pride at conventions, cosplay events, or even share it online with fellow enthusiasts. Embrace the opportunity to engage with others who appreciate your dedication to creating jaw-dropping cosplay props and be prepared to receive the admiration and recognition your hard work deserves.


Remember to exercise precision, pay attention to details, and enjoy the journey as you transform a raw 3D printed prop into a jaw-dropping masterpiece that captures the essence of your favorite character.
FAQs
- Can I modify the design of the raw 3D printed prop purchased from 3D Planet Props?
- Yes, you have the freedom to modify the design of your raw 3D printed prop to suit your preferences or to add personal touches. However, ensure that any modifications align with the integrity and structure of the prop.
- What tools and materials do I need for machining and sanding my 3D printed prop?
- Common tools for machining and sanding 3D printed props include sandpaper, files, rotary tools, and sanding blocks. Additionally, you may need safety equipment such as goggles and dust masks to protect yourself during the process.
- Can I use any type of paint for priming and painting my 3D printed prop?
- It's important to choose paints suitable for the material of your prop. Acrylic paints are commonly used for cosplay props, but make sure to select ones that adhere well to the specific material used in your 3D printed prop.
- How can I achieve realistic weathering effects on my painted prop?
- Weathering effects can be achieved through various techniques such as dry brushing, washes, or sponging. Experiment with different shades of paint, lighter and darker tones, and gradual layering to create a realistic weathered appearance.
- Can I apply a protective coating to my finished prop?
- Yes, applying a clear protective coating such as varnish or sealant can help protect the paint and ensure the longevity of your finished prop. Be sure to choose a coating that is compatible with the type of paint used and follow the manufacturer's instructions for application.