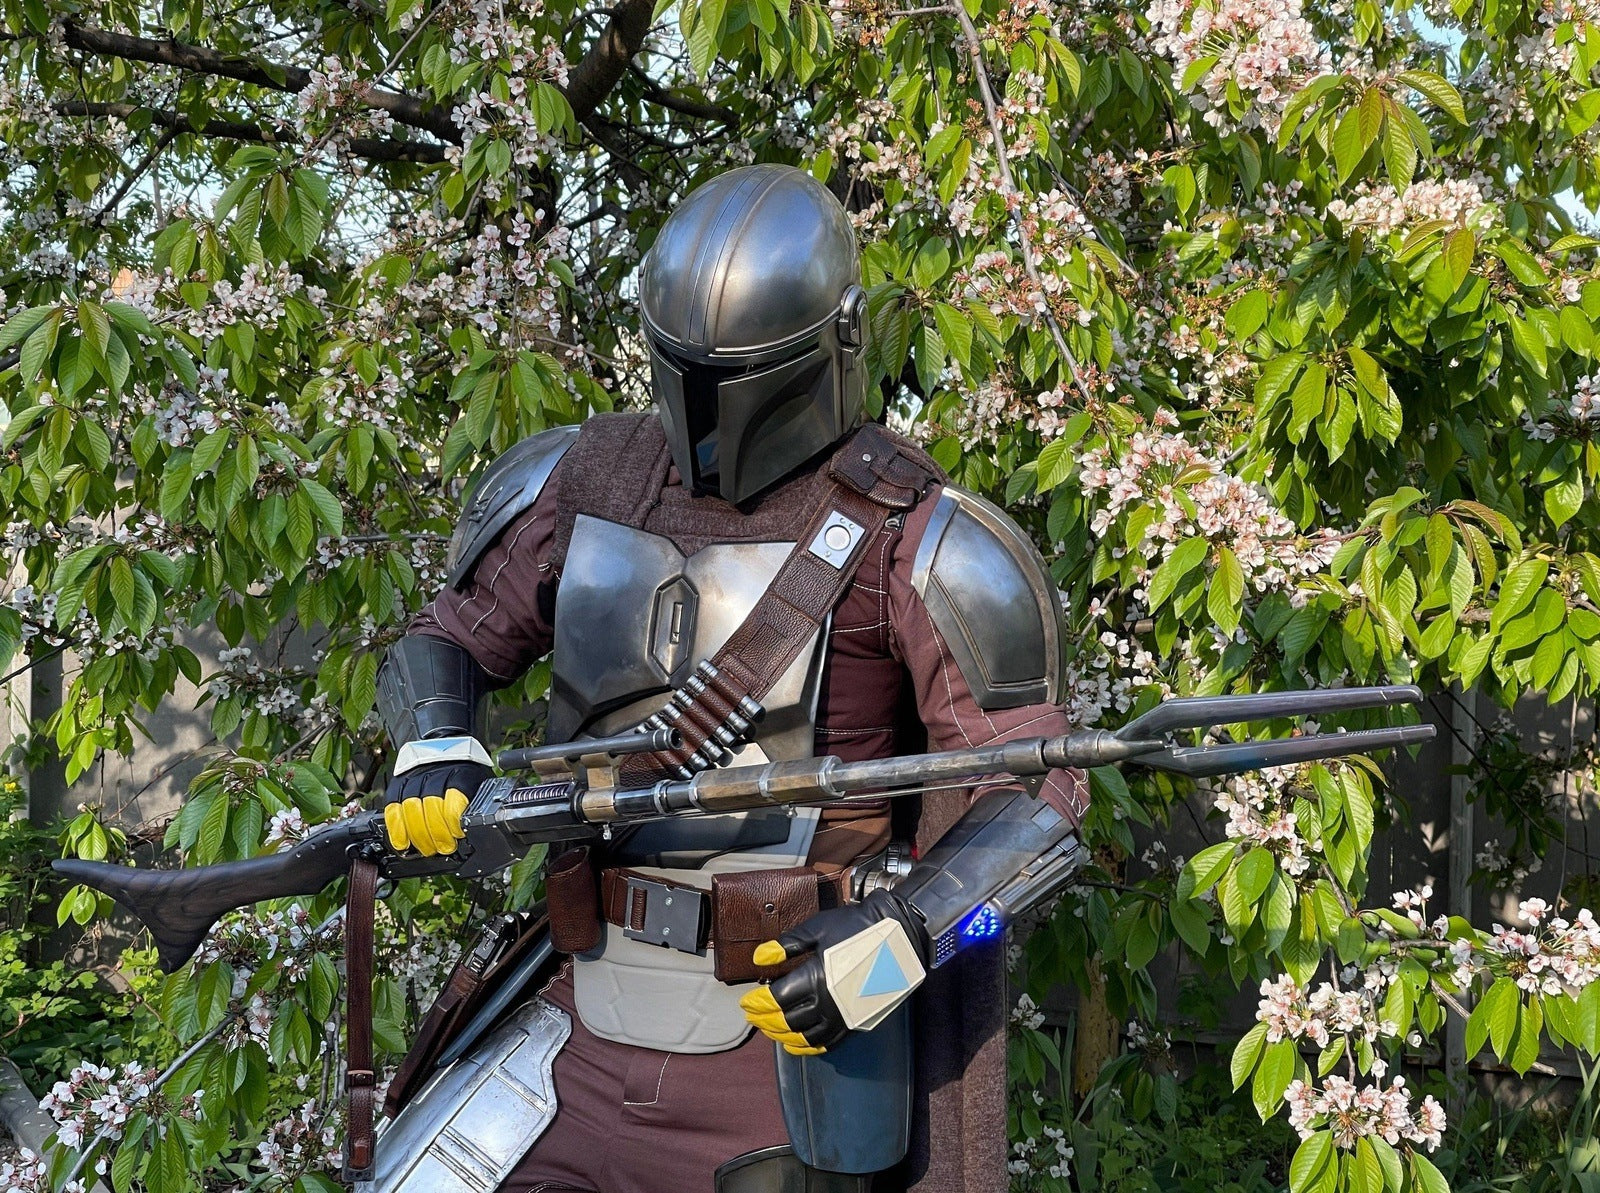
Hey there, fellow cosplayers and Mandalorian enthusiasts! In this tutorial guide, we're going to show you exactly how to assemble the iconic Mandalorian Rifle from scratch. Crafted by the skilled hands at 3D Planet Props, this cosplay weapon is a true masterpiece.

If you've recently received your Mandalorian Rifle in a disassembled state and are wondering how to put it all together, you're in the right place.

Our step-by-step guide will walk you through the entire process, ensuring you have a fully functional and impressive prop for your cosplay adventures.

Our Mandalorian Rifle is 3D printed in BIO PLA plastic, hand painted and comes partly assembled, in 4 parts, and needs to be put together and also you will need a little glue for this. Very easy to assemble!

So, the Mandalorian rifle consists of many parts, so assembling it is time-consuming, but there is nothing complicated about it.
You just need some time to assemble all the parts neatly and accurately.

Watch our Mandalorian rifle assembly tutorial on YouTube and do the same!
To start assembling this cosplay weapon, you will of course need the Mandalorian Rifle from 3D Planet Props! You can buy it at the link)
🛠️ Tools and Materials 🛠️
Before we dive into the assembly, make sure you have the following tools and materials ready:
- Mandalorian Rifle parts from 3D Planet Props.
- Assembly guide (included in the package).
- Patience and enthusiasm!
🔧 Assembly Steps 🔧
- Lay out all the components on a clean workspace.
- Refer to the provided assembly video guide to identify each part.
- Gently attach the barrel section to the main body, ensuring a snug fit.
- Use the glue to secure the barrel and other parts as indicated in the guide.
- Carefully attach the stock to the main body using the glue.
- Double-check all connections to ensure stability.
💡 Pro Tips 💡
- Take your time and follow the video guide closely to avoid any confusion.
- If you encounter any resistance while assembling in parts, gently adjust the alignment and try again.
- Assemble all the parts of the rifle in sequence and don't rush into anything!

By the end of this tutorial, you'll have your Mandalorian Rifle ready to wield for your next cosplay event or photo shoot.
Embrace your inner bounty hunter and show off your impressive creation to fellow fans!

If this tutorial was helpful to you, don't forget to subscribe to our blog. We are preparing new interesting cosplay tips, tutorials and props reviews.
If you have any questions or need clarification on any step, feel free to write to tech support and we'll be happy to help.
May the Force be with you as you embark on this crafting journey. Now, let's get started on assembling your Mandalorian Rifle!

